On Sunday, Ian and I installed the metal roof on our tiny house project. Until now, our build had been taking place in a nissen hut, but now it will be sealed. Before the panels were lifted up to the roof, I measured and marked the fastening points every 24″ with a black sharpie. I then rolled up the material and used some construction tape to keep it rolled while I heaved it up to the roof. It’s important to roll the material with the outward surface inward as to avoid kinking or damaging the material (and the material naturally rolls this way anyway).
Once the material is on the roof it’s a matter of lining up one edge flush and then overlap the material as you make your way across the roof.
A metal roof is expensive ($600) relative to shingles ($150) however, there are a few good reasons to go with metal:
- Metal lasts longer
- The grooves naturally direct the rain water, which we plan to capture and treat for potable water.
- A tiny house sometimes has to be moved, and shingles would easily fly off on the highway.
- The material comes in 30ft lengths and is super easy to install (3 sheets for each roof)
- And I think it looks pretty slick!
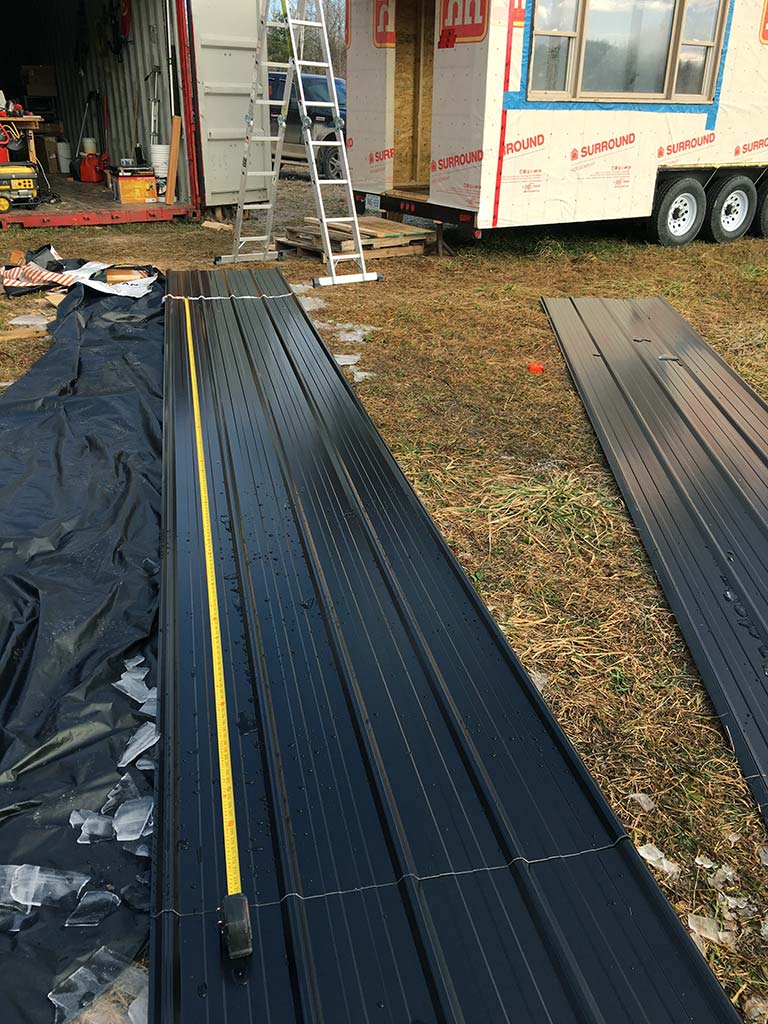
Marking the anchor points using a sharpie permanent marker
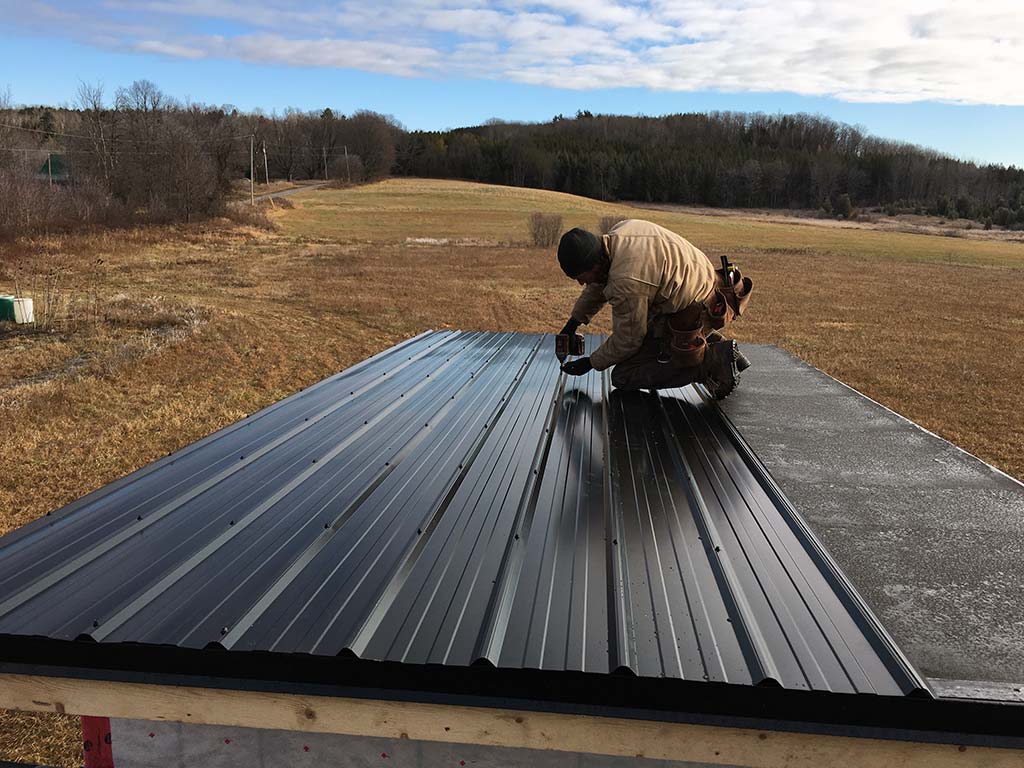
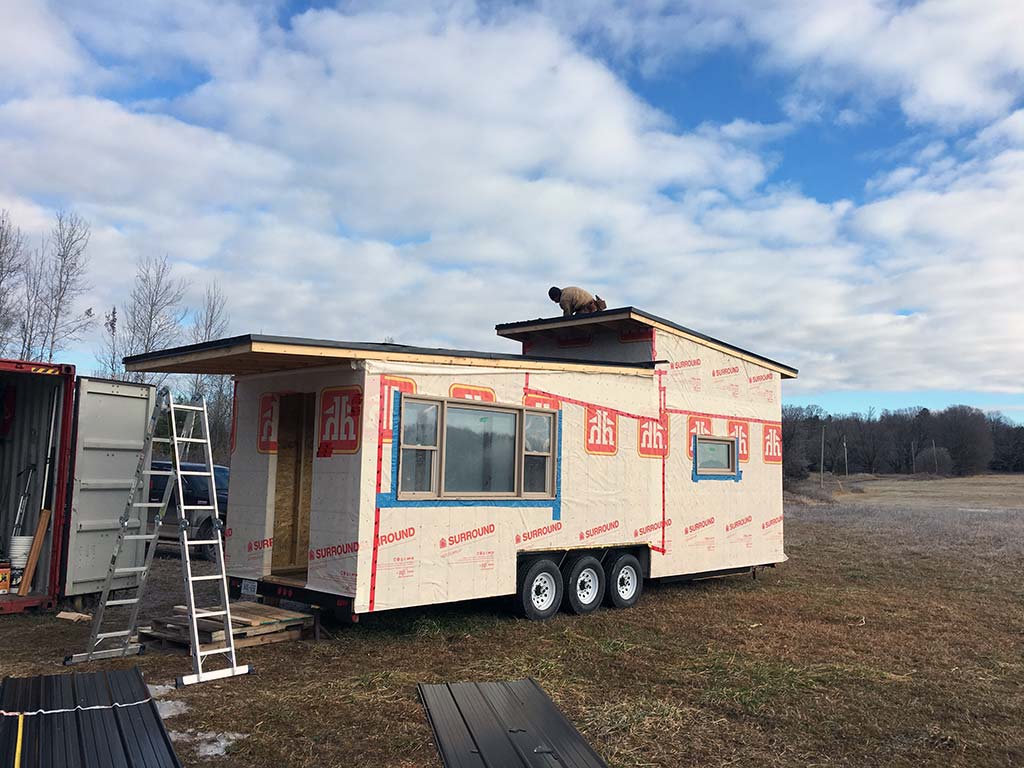
Ian installing the roof panels following the indicators every 24″
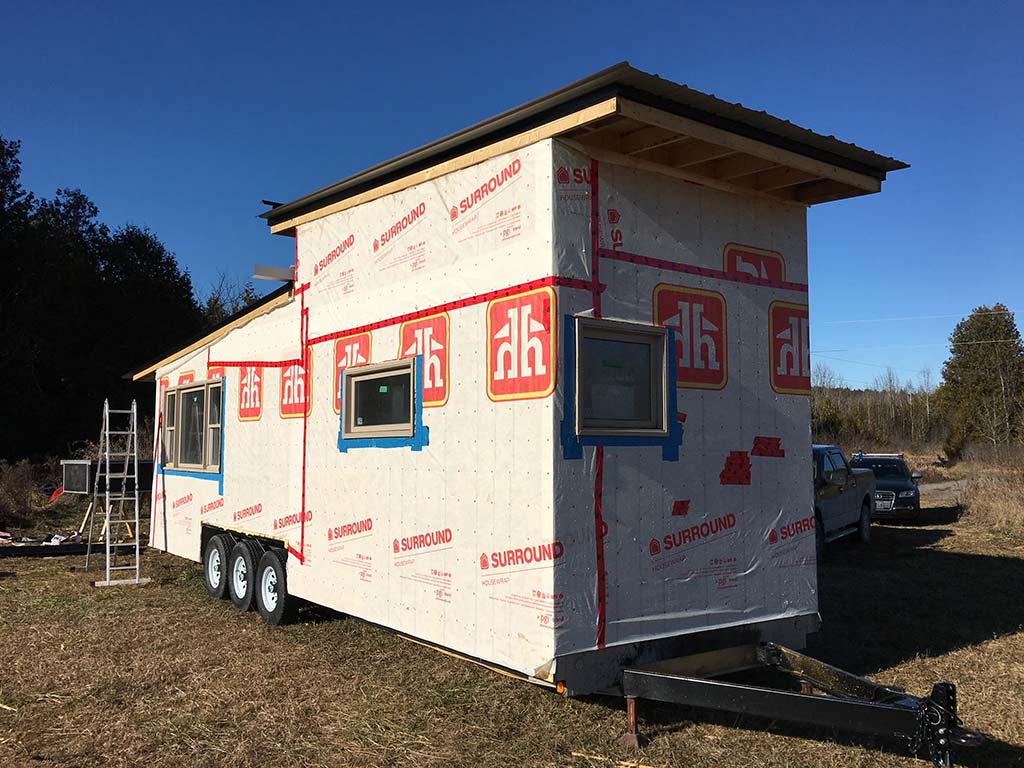
3/4 view of our tiny house, you can see that we need to trim the overhang material
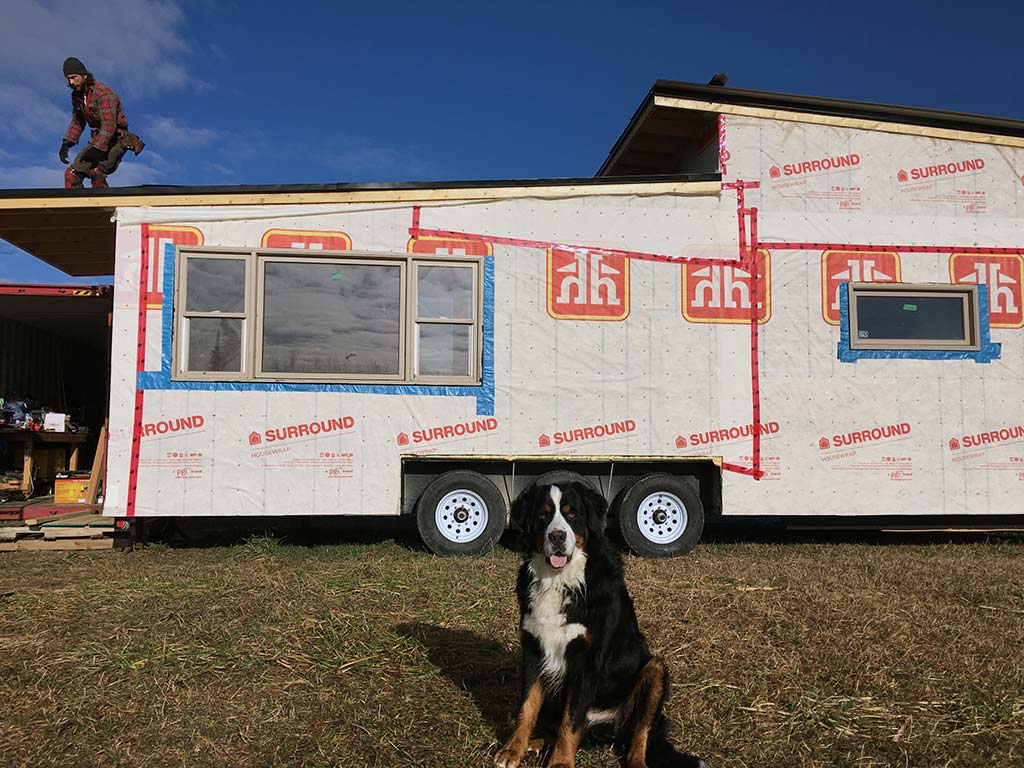
I an on the roof and my dog Kobe posing
Another view of the dynamic shape of the roof
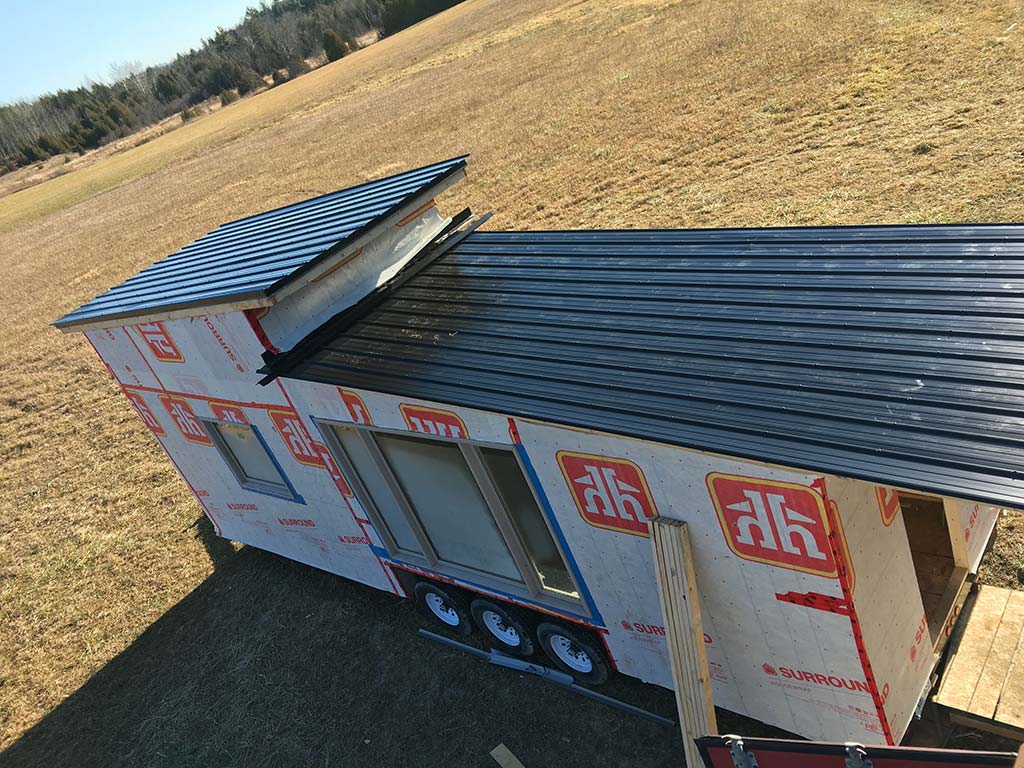
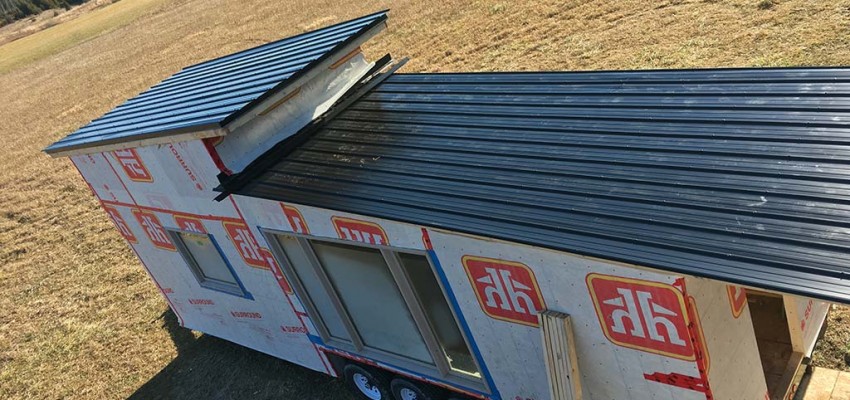
Here’s the metal roof fully installed.


Wow, this tiny houses tin roof looks really awesome. It gives it a modern feel and which could be a fun design choice for a little home. Personally, I would want to know if having a metal roof means that the roof its self will last longer.
Wow what a cool little, home? I don’t know if I would call it quite a home haha! Although that is one heck of a metal roof 😉
Thank you so much for these information. I really learned a lot. I’m gonna put this on a practice.
It does not approach me. Who else, what can prompt?
https://www.cyberpinoy.net/melbetpakistanorg
https://winnita-promocode.com/
https://dissertation-now.com/coursework/